
Short answer: A good embroidery drawing is a clean line drawing, not a sketch. Use closed shapes, keep it simpler than you think, and draw every line as if it were a stitch. Then trace it onto fabric with a window, a water soluble pen or a stick and stitch sheet.
"Embroidery designs drawing" is up 60% in Indian searches over five years (Google Trends). Every design our artisans stitch starts as a pencil drawing on paper in the Bulandshahr studio. These are the rules we draw by.
5 rules for a drawing that stitches well (tap each)
1. One line, not many
Sketchy, doubled lines leave you guessing which one to stitch. Trace your sketch into a single confident line.
2. Close every shape you want to fill
Satin stitch needs an edge on all sides. An open petal turns into a ragged fill.
3. Remove half the detail
Thread is thicker than pencil. Details closer than 2 to 3 mm merge. If in doubt, leave it out.
4. Keep fills small
Satin fills wider than about 8 mm snag and sag. Split big shapes into sections, or use long and short stitch.
5. Draw at the real size
A design that looks great at A4 can be unstitchable at palm size. Draw it at the size it will be on the fabric.
Photo to embroidery drawing in 4 steps
- Print the photo in black and white, at the size you want to stitch.
- Lay tracing paper on top and trace only the outline and the biggest inner shapes.
- Look at the tracing alone. Remove anything that does not help you recognise the subject.
- Mark each area with its stitch: outline, fill, knot. This is your stitch plan.
Four ways to put the drawing on fabric
| Method | Works on | Watch out |
|---|---|---|
| Window or light box tracing | Light, thin fabric | Useless on dark or thick cloth |
| Water soluble or heat erase pen | Most light fabrics | Test first; some set under an iron |
| Carbon or chalk transfer paper | Dark fabric, denim | Lines rub off as you handle it |
| Stick and stitch (soluble stabiliser) | T-shirts, fleece, anything | Rinse it out fully after |
Fabric choice matters too. See embroidery fabric.
Watch: design your own embroidery
Need ideas to draw from?
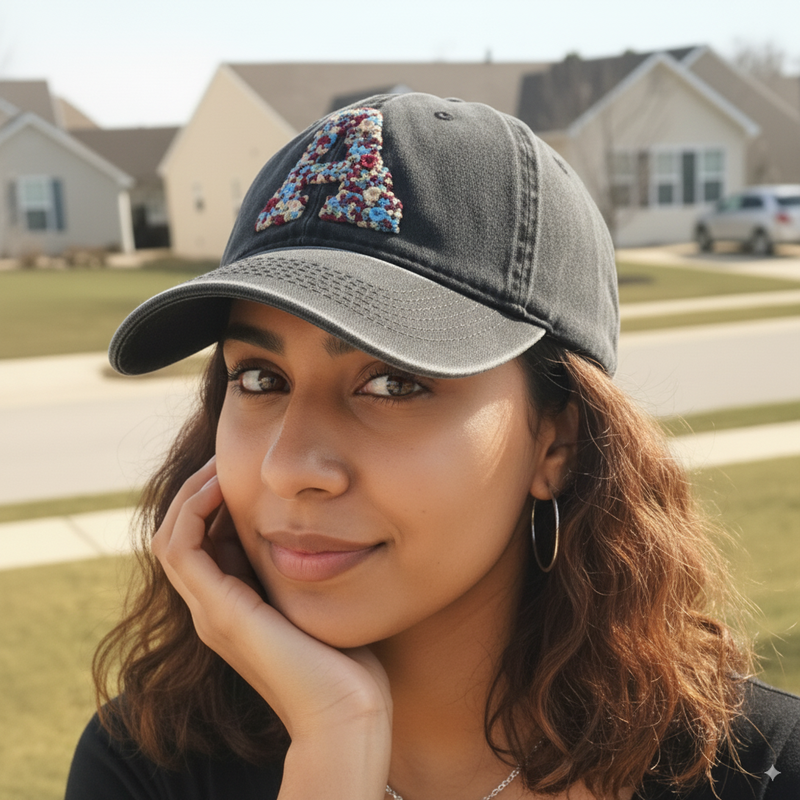
- Traceable motifs in simple embroidery designs
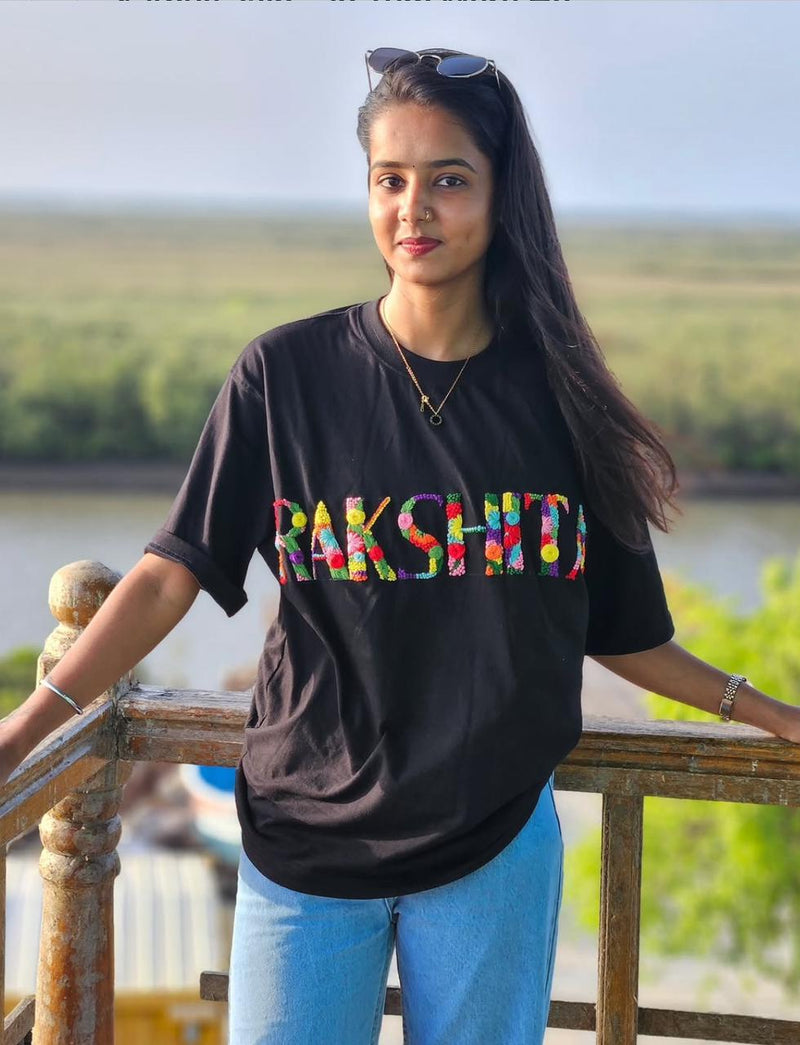
- Lettering in name embroidery designs
- Placement in the placement guide
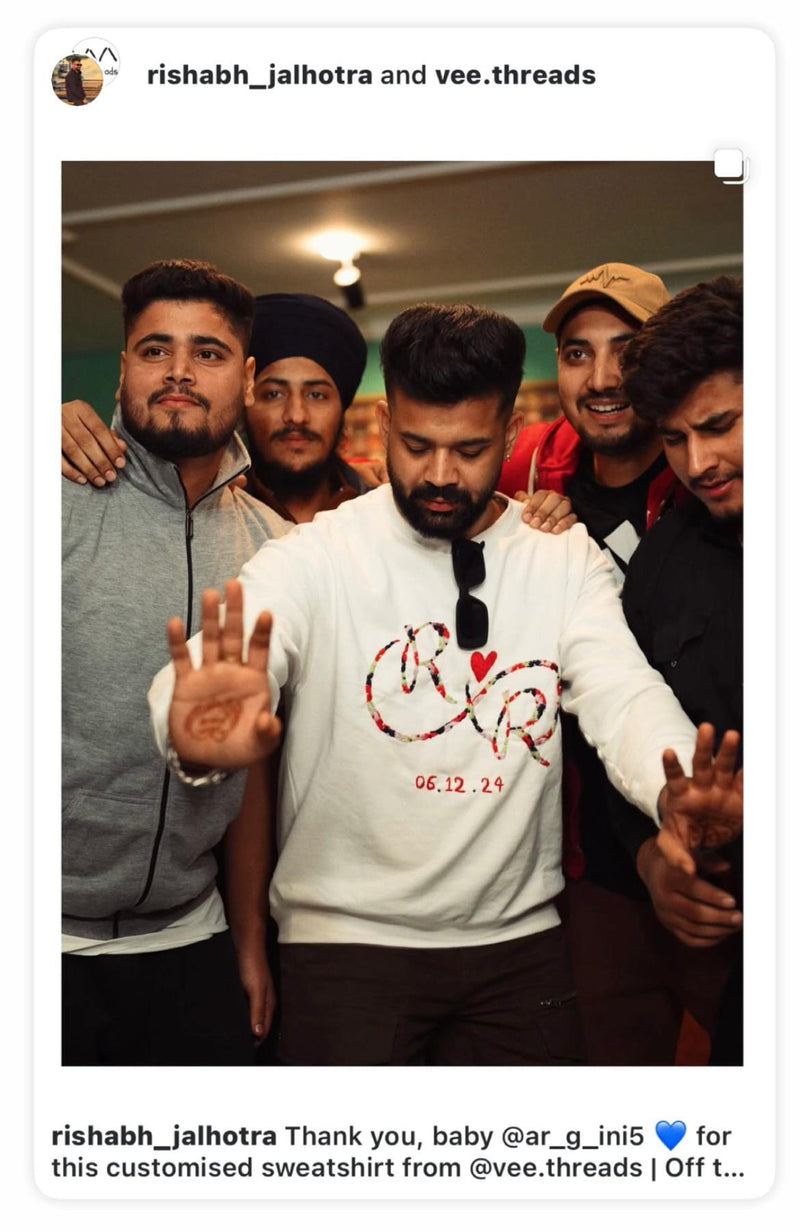
- Brand marks in embroidery logo
- All styles in embroidery designs
Have a drawing? We can stitch it
Send it through a custom order and our artisans will tell you whether it translates to thread, then hand stitch it. How it works: ordering custom hand embroidery. Browse custom hand embroidery.
Questions
Can I use any drawing for embroidery?
Almost any, once simplified. Fine shading and tiny text need reworking into lines and blocks first.
Is drawing for machine embroidery different?
Yes. Machine designs are digitised into a stitch file with software. Hand embroidery only needs the line drawing.
Written by the Vee Threads studio team in Bulandshahr, where women artisans have hand stitched more than 5,000 orders.





Share and get 15% off!
Simply share this product on one of the following social networks and you will unlock 15% off!